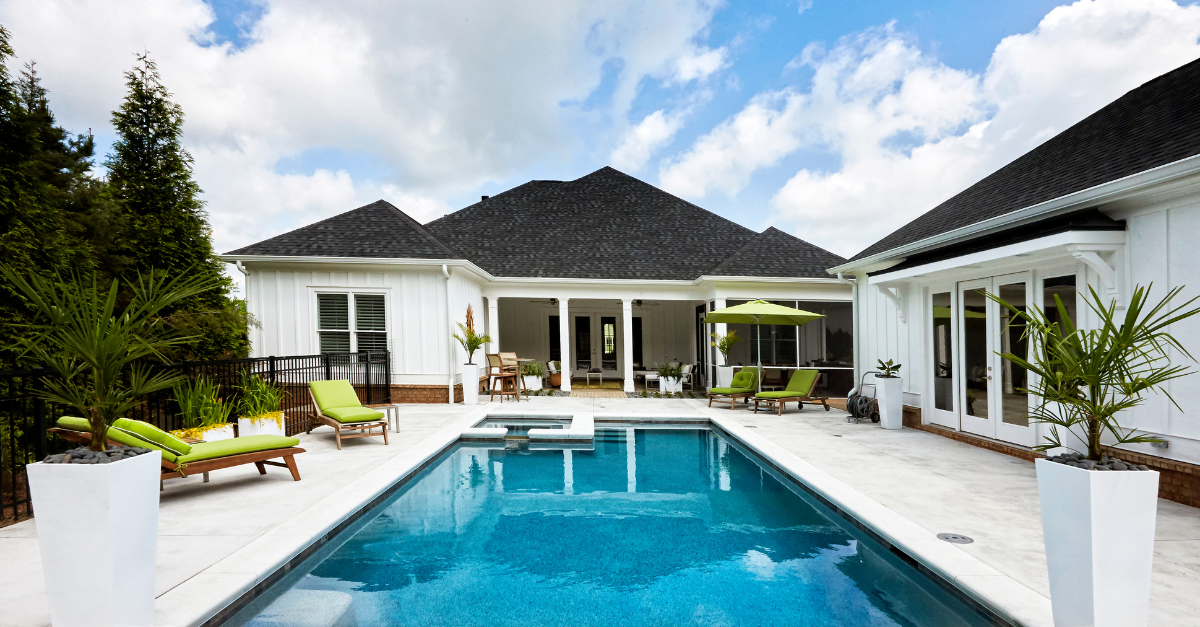
Owning a swimming pool can feel like the ultimate luxury, but it comes with a…
An Easy Guide for Winterizing Your Pool
The leaves are turning, the temperature is dropping—it’s time to prepare your aquatic oasis for its winter slumber! Winterizing your pool isn’t just about tossing on a cover and hoping for the best.
It’s a crucial process that protects your investment and ensures a smooth reopening come spring. Whether you’re a first-time or seasoned pool owner, proper winterization can save you time, money, and headaches when the warm weather returns.
In this guide, we’ll walk you through a step-by-step checklist for winterizing your pool. From balancing water chemistry to protecting your plumbing from freezing temperatures, we’ve got you covered. Let’s dive in and ensure your pool is ready to weather the winter months ahead!
1. Clean and Balance Your Pool
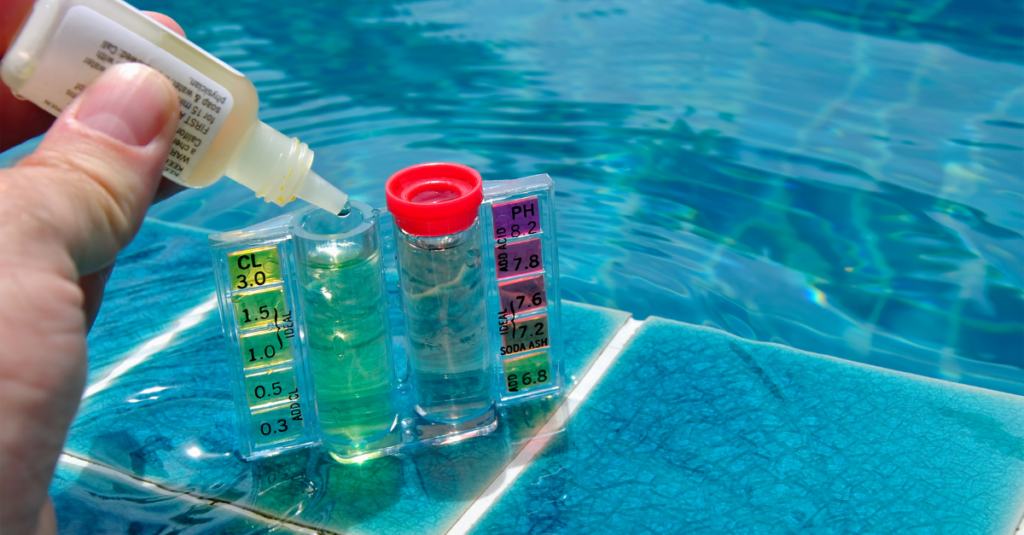
Before closing your pool, thoroughly clean it to remove dirt, leaves, and other debris. This helps prevent bacteria and algae from growing over the winter. Use a skimmer net to remove surface debris, brush the walls, and vacuum the pool.
If you have a pool closing kit, follow the instructions to add the necessary chemicals. Make sure to test and balance your pool water, ensuring it’s within these recommended ranges:
- Free Available Chlorine: 2.0–4.0 ppm
- Total Alkalinity: 80–120 ppm
- pH: 7.4–7.6
- Calcium Hardness: 200–400 ppm
Allow your pool pump to run for a full cycle (around 4-12 hours, depending on your pool’s size) to circulate the chemicals. Once done, backwash or manually clean the pool filter to ensure it’s ready for winter.
2. Lower the Water Level

After cleaning and balancing the pool, lower the water level 4–6 inches below the skimmer inlet or tile line. This step is crucial to prevent freeze damage to your pool’s plumbing.
If you plan to blow out the lines with compressed air, it’s safe to lower the water only slightly. However, if you aren’t using an air compressor, you may need to lower the water up to 18 inches to allow water to drain out of the return lines.
Always refer to your pool manufacturer’s guidelines for the best winter draining procedure for your specific pool type.
3. Winterize the Pool Plumbing
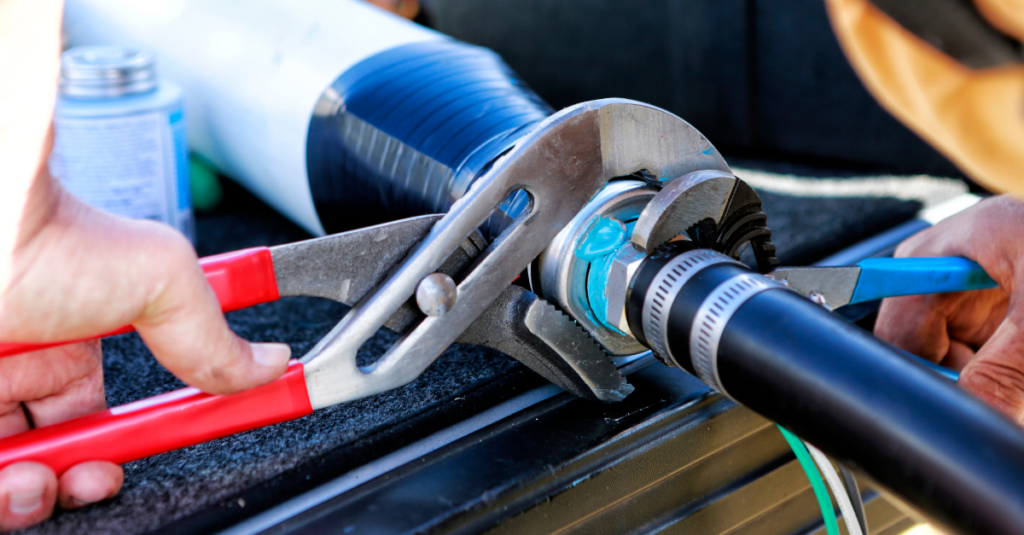
For those in freezing climates, it’s important to protect the plumbing from freezing temperatures:
- Turn off the main power supply and remove the “on” and “off” trippers from the time clock (if applicable).
- Remove the drain plugs from the pump, filter, heater, and any other equipment. Store the plugs in the pump’s strainer basket for easy access in the spring.
- Place winterizing plugs in the return and skimmer lines, and add non-toxic pool antifreeze to protect the lines from freezing.
- For above-ground pools, disconnect the filter hoses and store the equipment in a non-freezing location.
Consider using a winterizer in the skimmer to prevent water from rising in the lines and causing freeze damage. If you live in a moderate freezing climate, a freeze protector can help keep water flowing through your equipment when temperatures drop.
4. Prepare the Pool Deck and Surrounding Area
Remove all pool accessories, including ladders, hoses, pool cleaners, and skimmers. Drain any water from the equipment, and store everything in a non-freezing area such as a garage or basement.
To prevent damage to your pool cover, place foam or other soft materials around the pool’s edge, especially if the deck has sharp or rough edges.
For above-ground pools, inflate an air pillow and secure it in the center of the pool. This helps relieve pressure caused by expanding ice and supports the pool cover.
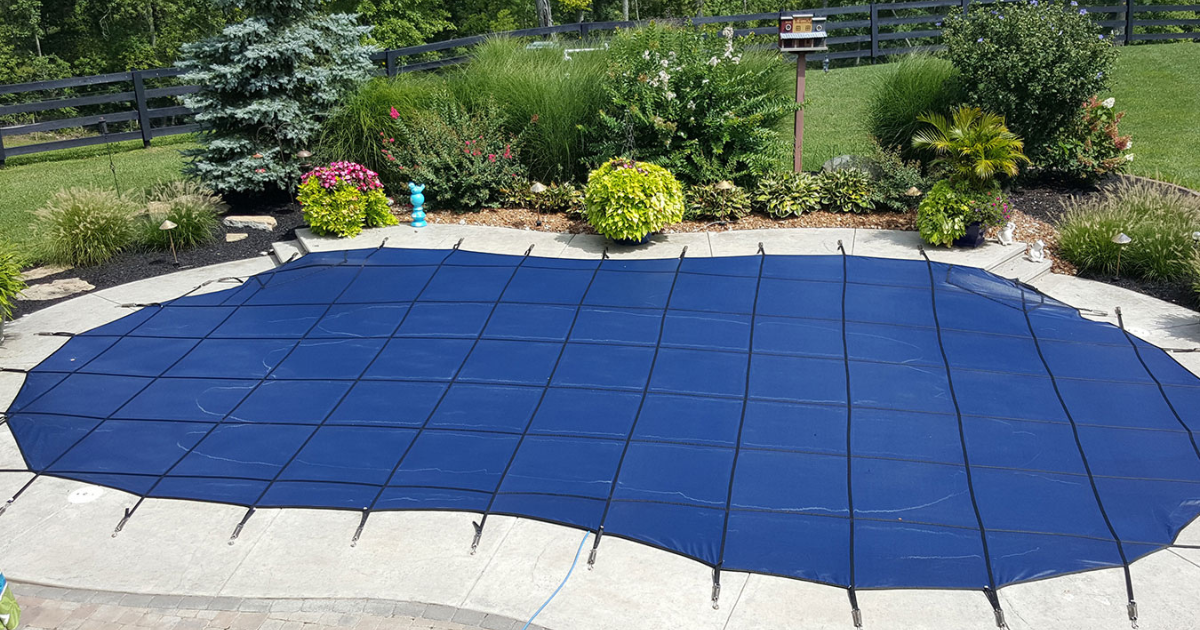
5. Measure and Fit Your Pool Cover
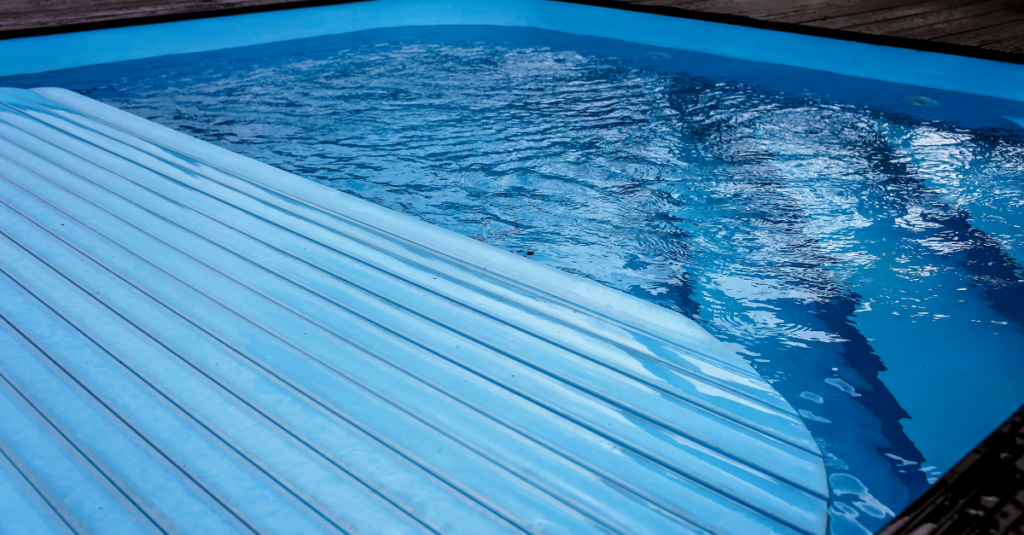
Measure your pool and order the correct size cover if you don’t already have one. When selecting a cover, ensure there’s enough overlap to accommodate lowering the water level and any air pillows used.
Above-Ground Pools
Choose a standard cover that fits snugly over the pool’s surface and pillows. Avoid “tenting,” where the cover is raised and pulled at an angle. This can cause stress on the cover when rain or snow accumulates, leading to potential tears.
When you’re ready to cover your pool, run a cable through the cover’s grommets and tighten it snugly. Avoid hanging heavy objects from the grommets, as this can damage the cover.
In-Ground Pools
Your standard cover should include enough overlap for water bags or cover blocks. Make sure the cover lays flat against the pool walls to prevent damage from rain or snow buildup.
Secure the cover with water bags, tubes, or cover blocks. If using a safety cover, fasten it to the deck anchors according to the manufacturer’s instructions.
6. After Covering Your Pool…
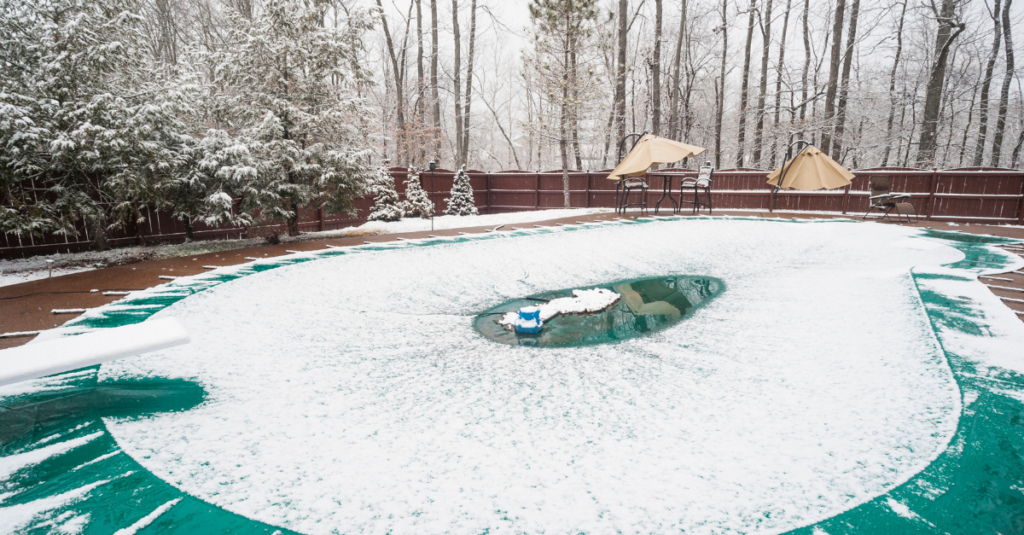
Place a pool cover pump or siphon on the cover to drain rainwater, melted snow, or other precipitation. This will prevent water buildup, which can weigh down and damage the cover over the winter.
It’s a good idea to check the pool cover once a month to ensure it’s still secure and free of debris. Removing excess water and debris from the cover helps extend its life and makes reopening your pool in the spring a much easier process.
Remember, pool care doesn’t end in the winter. Check out these tips to take care of your pool during the off-season and make sure it’s ready to go when the weather warms up.
By following these tips, you’ll keep your pool looking great and running smoothly for years to come. Whether you’re a new pool owner or a seasoned expert, sticking to a regular maintenance routine will help you enjoy your pool to the fullest with minimal hassle.
Why Stop at Winterization?
As you prepare your pool for its winter rest, it’s the perfect time to start dreaming about next season. Perhaps you’ve been considering upgrading your pool area with beautiful hardscaping, adding a cozy fire pit for those crisp spring evenings, or reimagining your entire backyard landscape.
Woodfield Outdoors can help bring these dreams to life. Schedule a call today to discover the incredible possibilities for your backyard.
Related Posts